The impression trays are not sterilized and you will need to sterilize them prior to use. Follow these simple steps to sterilize your teeth impression trays.

The impression putty, that is included with the kit, should be no warmer than room temperature when you use it or the putty will harden too quickly. Be careful where you store it.
These are the supplies that are included in your impression kit but you will only need the 3 sizes of impression trays for this first step.
Choose the tray that allows the outer edges of your teeth to fall on the black line in this picture so your teeth do not touch the edges of the tray.
While using a mirror, try on each tray over the top of your teeth to determine which tray allows the outer edge of your teeth to rest on the black line in the photo above and space between your teeth and the tray.
Once you have determined which size tray is best for you, set the other trays aside and click Next to proceed to Step 2.
Please read all of the illustrated instructions and watch the video prior to taking your teeth impression.
You must mix the putty, spread the putty in the tray, and have the tray inserted into your mouth in less than 2 minutes or the putty will harden not allowing for accurate impressions.
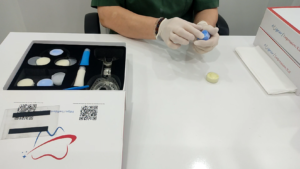
Step – 1. Take 1 colored putty and 1 white putty from the supplied container. The putty should not be warmer than room temperature, so be sure it is not before mixing.

Step – 2. Mix the 1 purple putty and the 1 white putty together with your fingers until it becomes a solid purple. This should be completed in no more than 40 seconds.
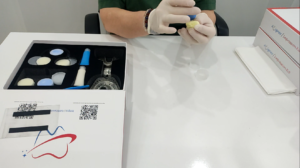
Step – 3. When the putty becomes a solid purple with no more white showing, then stop mixing. Do not continue to mix once it is a solid purple or the putty will harden too fast.
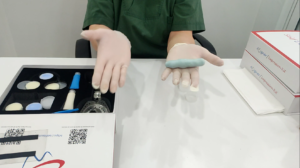
Step – 4. Take the ball of mixed putty and place it into the tray.
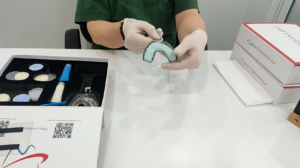
Step – 5. Use your thumbs to spread the putty evenly throughout the entire tray.
Step – 6. The putty should fill the entire tray from edge to edge.
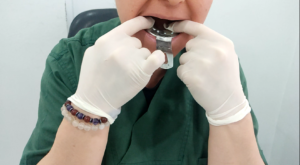
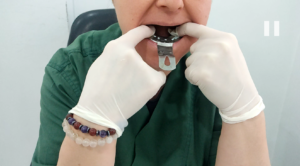
Step – 7. Insert the putty filled tray and center it over your teeth. KEEP BITING TIL YOUR TEETH TOUCH BOTTOM / (for lower jaw top) SIDE OF THE TRAY.
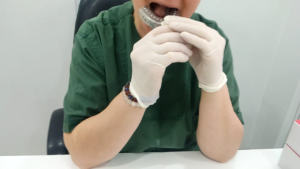
Step – 8. Use both thumbs to push evenly straight up on the tray until your teeth almost hit the bottom of the tray. The most common mistake is that the teeth are not deep enough in the putty.
Step – 9. Keep the impression tray and putty on over your teeth for 5 full minutes so that the putty can fully harden. If you remove the tray before the full 5 minutes, the impression will be distorted and your completed teeth device will not fit properly.
Step – 10. After the 5 minutes is up, first push up on the handle of the tray to break the suction and then you will pull the tray down off of your teeth by using the plastic stem as shown.
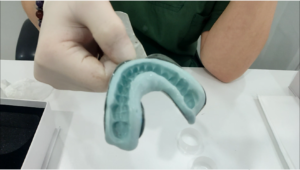
Notice how the teeth are centered and not too close to the edges of the tray.
Notice how the teeth are deep in the putty and almost touching the bottom of the tray.
Notice how the palate is captured in the impression because when the teeth are pushed deep in the putty, the putty gets pushed up into the palate.
Please take a photo of your practice impression and complete the form. You MUST send us a photo and video of your practice impression, no matter if you feel it is good or bad. If you do not send the photo, you will not receive instructions on how to proceed. We want to make sure you have taken the best impressions of your teeth.
Your practice impression photos and videos have been submitted for approval. Our Certified Dental Technicians will review your photo(s), video and process for approval. You will receive an email within 1 business day with the approval status of your practice teeth impression approvals.
If you have not received your approval email within 24 Hours (1 business day), please make sure to check your SPAM folder prior to contacting us.
If your practice impression is accepted you will send them to us to get your teeth device made. Detailed instructions will be included in your approval email on how to ship your impression(s) to us.
If there are issues with your teeth practice impression, we will notify you to take teeth impression(s) with the included “final” impression putty. Once you have taken the new impression you will need to re-send your impression photos for approval.